How to Apply Your VPS Upgrade (CPU, RAM, Storage)

If you've recently upgraded your VPS, applying the changes is quick and easy!
- Confirm the Upgrade in Your Panel
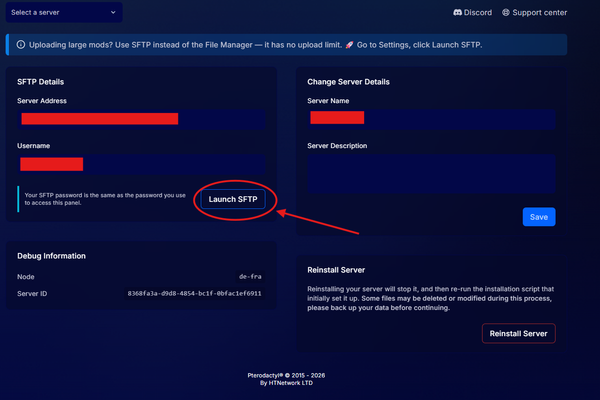
First, log into your control panel and check that the new resources (CPU, RAM, Storage) are showing.
If they haven’t appeared yet, don’t worry — your upgrade may still be processing in our queue. Give it a few minutes. - Restart Your VPS
Once the panel reflects the upgrade, shut down your VPS and then power it back on.
Any increases to CPU cores or RAM will apply automatically upon restart. You can confirm this using Task Manager. - Check Your Storage Upgrade
Open File Explorer, go to This PC, and check your main drive to see if the new storage size is displayed.
If the additional storage isn’t showing yet, you’ll just need to extend the drive manually — it’s a quick fix. - Manually Extend the Storage (if needed)
Follow these steps:- Open the Start Menu and search for
cmd - Right-click Command Prompt and choose Run as Administrator
- Open the Start Menu and search for
In the cmd window, type the following commands one by one:
diskpart
select volume 0
extend filesystem
- Refresh File Explorer, and your new storage should now be visible.
If anything doesn’t seem right, or the steps above don’t work, feel free to reach out to our support team.
We’ll get it sorted as soon as possible — but in most cases, this process works without issue.