🚀 Getting Started with Your HTNFW Server

Welcome to HTNFW — your all-in-one FiveM framework that’s ready to go the moment you install it.
This guide will walk you through everything you need to set up admin access, get started in-game, and begin managing your world.
🧩 Step 1: Set Yourself as Admin
Before managing or testing your server, you’ll need to make sure your account has admin permissions.
- Open your database in HeidiSQL

- Find your HTNFW database
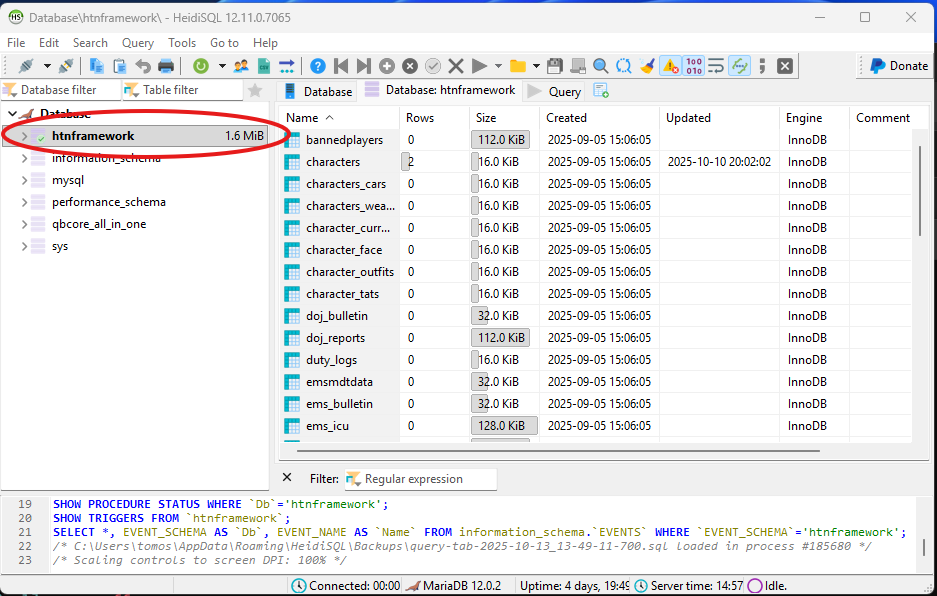
- Locate the table named
__users
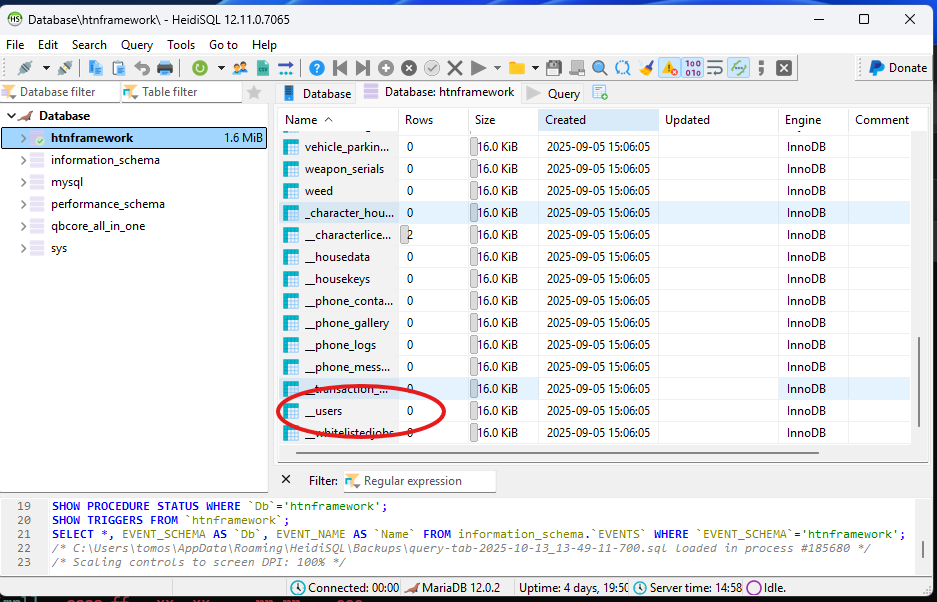
- Double-click
__usersto open it - Click the Data tab at the top
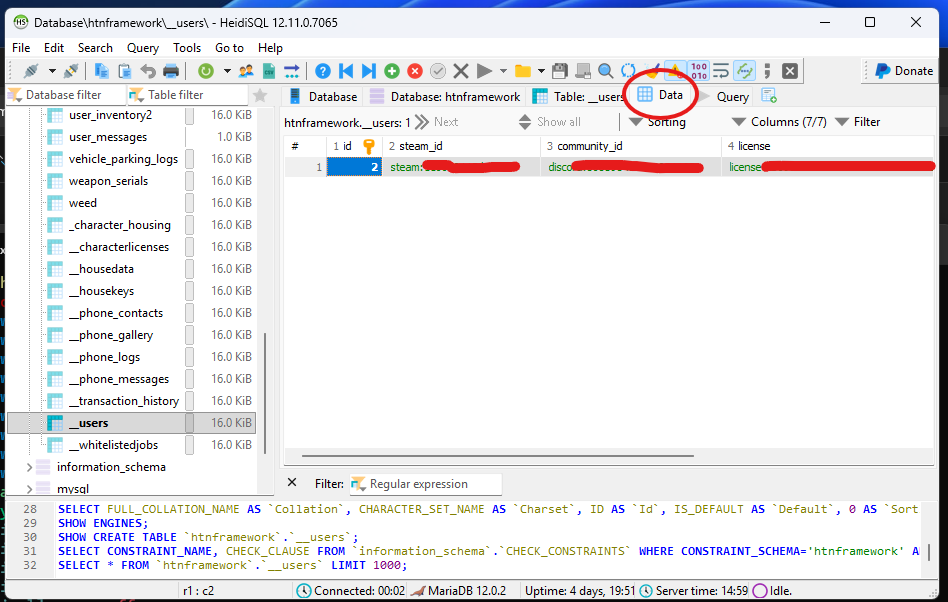
- Find your player row
- Scroll to Column 6 (rank)
Set the value to:
dev
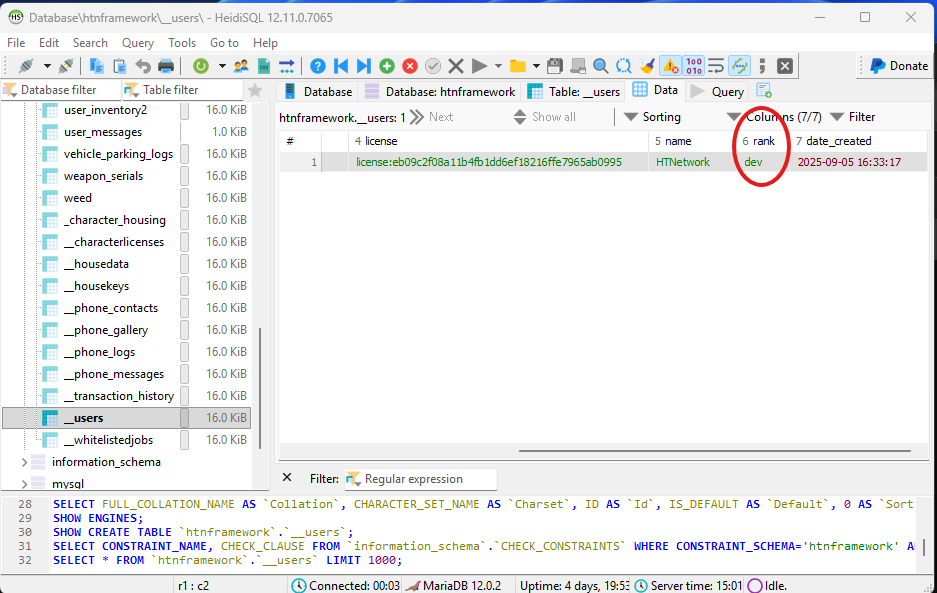
Once done, your account will have full admin access. 🎉
🏠 Step 2: Join Your HTNFW Server
- Launch your server and join
- Complete the multicharacter selection and choose a spawn point
- Customize your character — you’ll spawn inside your apartment
- You’ll automatically receive a starter backpack
🎒 Step 3: Use Your Starter Backpack
- Open inventory: K
- Use backpack: drag it to the “Use” slot
You’ll be given essential starter items to get you going.
📱 Step 4: Open Your Phone
- Open phone: M
- Use your mouse to navigate
- Open the Information App to view:
- Your Player ID (blue box beside your name)
- Your licenses
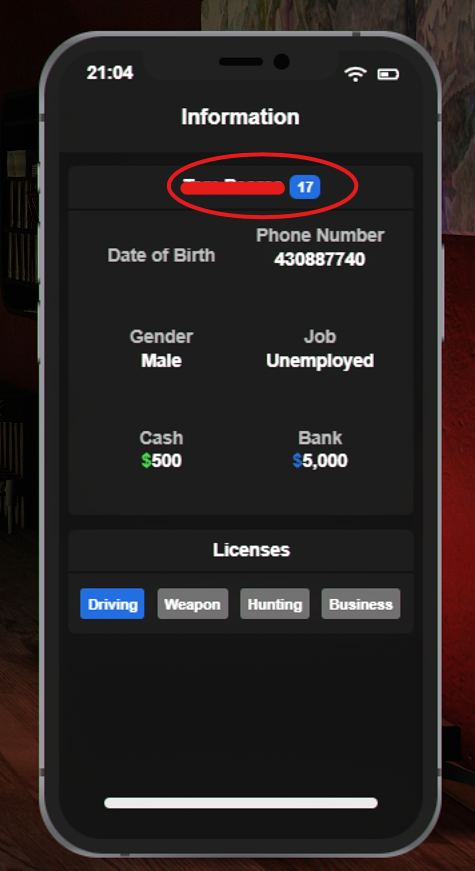
💡 Tip: Keep note of your Player ID — you’ll need it for admin commands later.
🚪 Step 5: Leave Your Apartment
Walk up to your apartment door and press E to exit.
You’re now out in the world and ready to explore.
💰 Step 6: Give Yourself Some Money
To test gameplay or buy items, give yourself some starter money.
- Open chat: T
- Open your phone (M) → Information App to confirm your bank balance.
Type the command below:
/amoney [playerID] [bank] [amount]
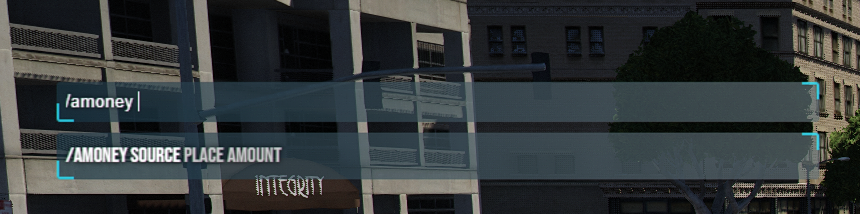
Example:
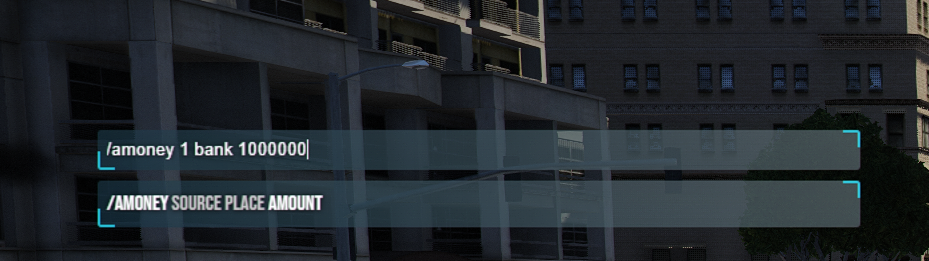
/amoney 1 bank 50000
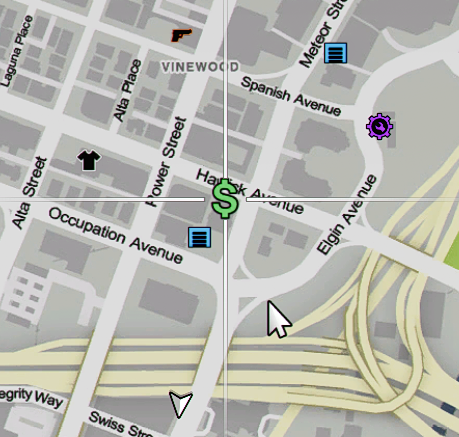
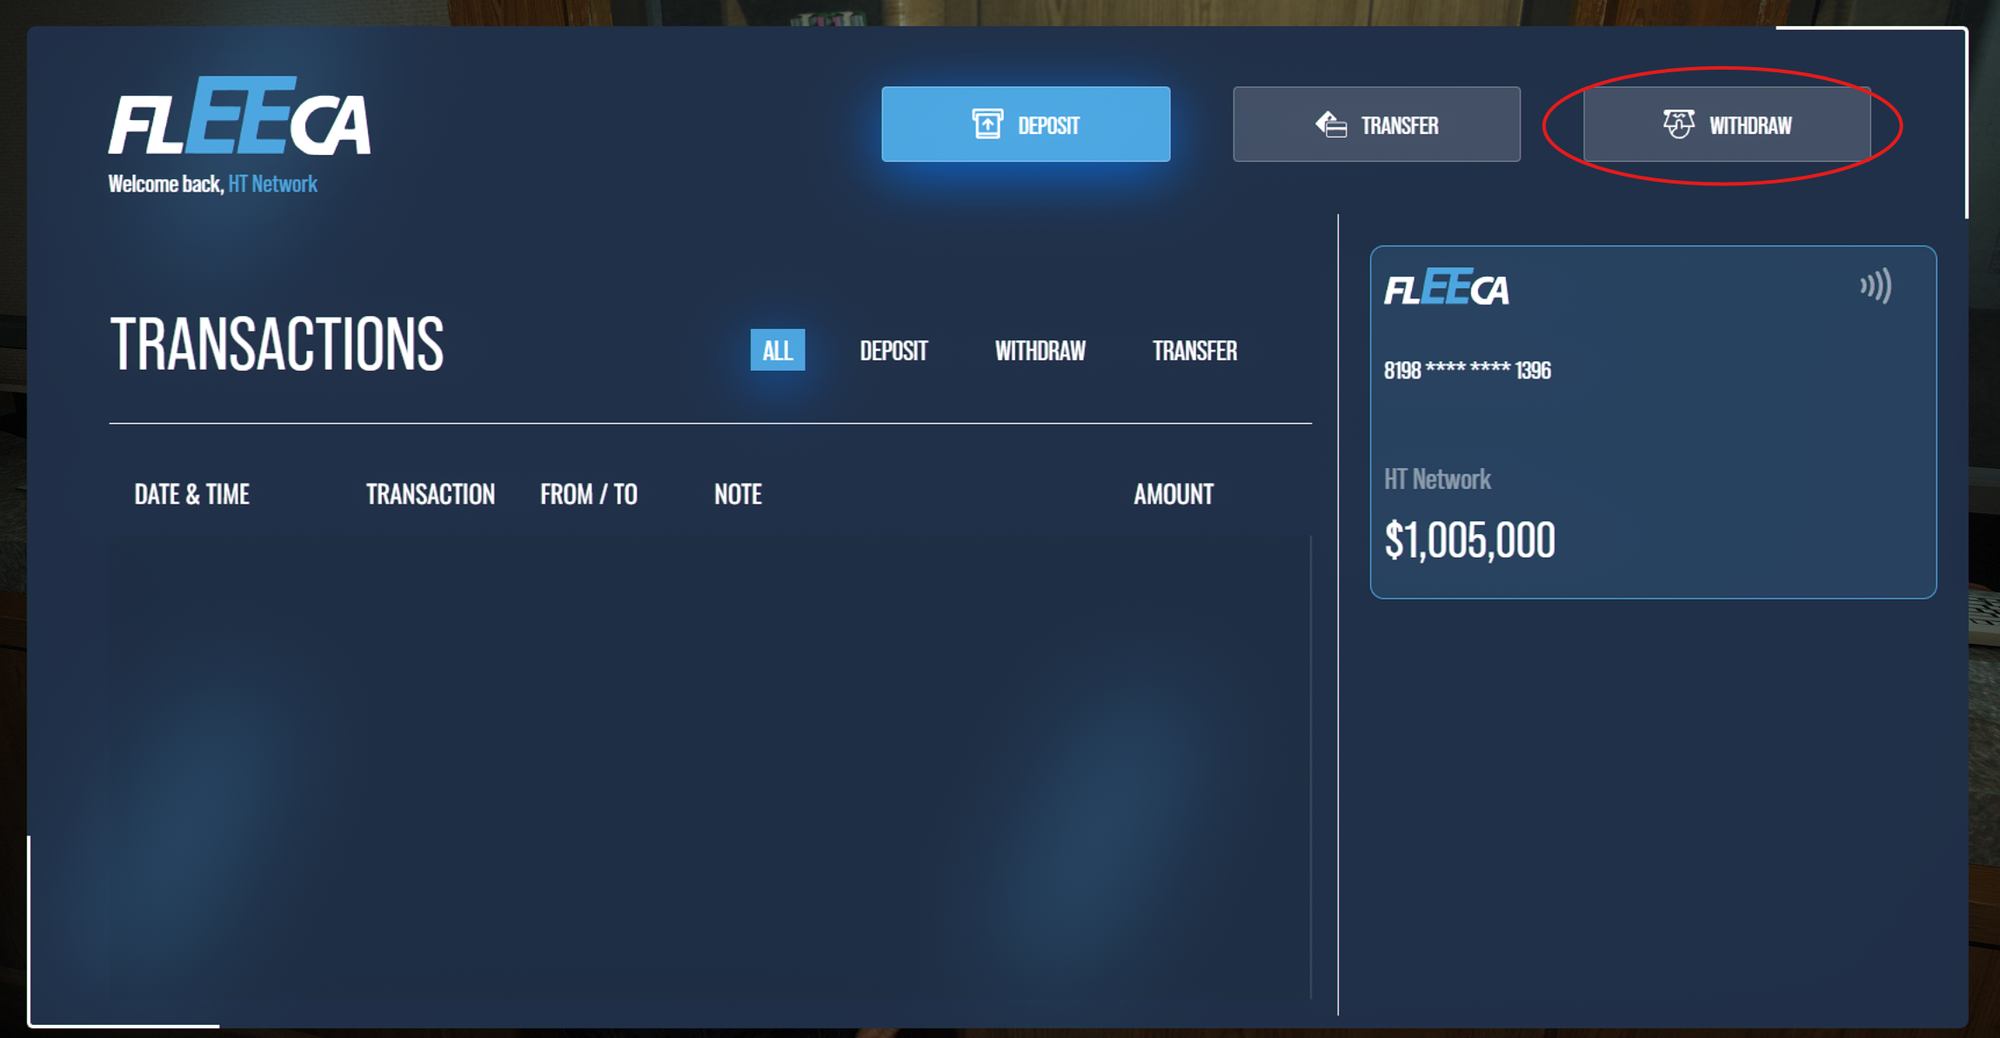
🏦 Step 7: Withdraw Cash at a Bank
- Open your map and set a waypoint to a bank
- Press F10 → Staff Commands
- Click Teleport to Waypoint
- Walk up to the bank teller desk
- Hold Alt and right-click to interact
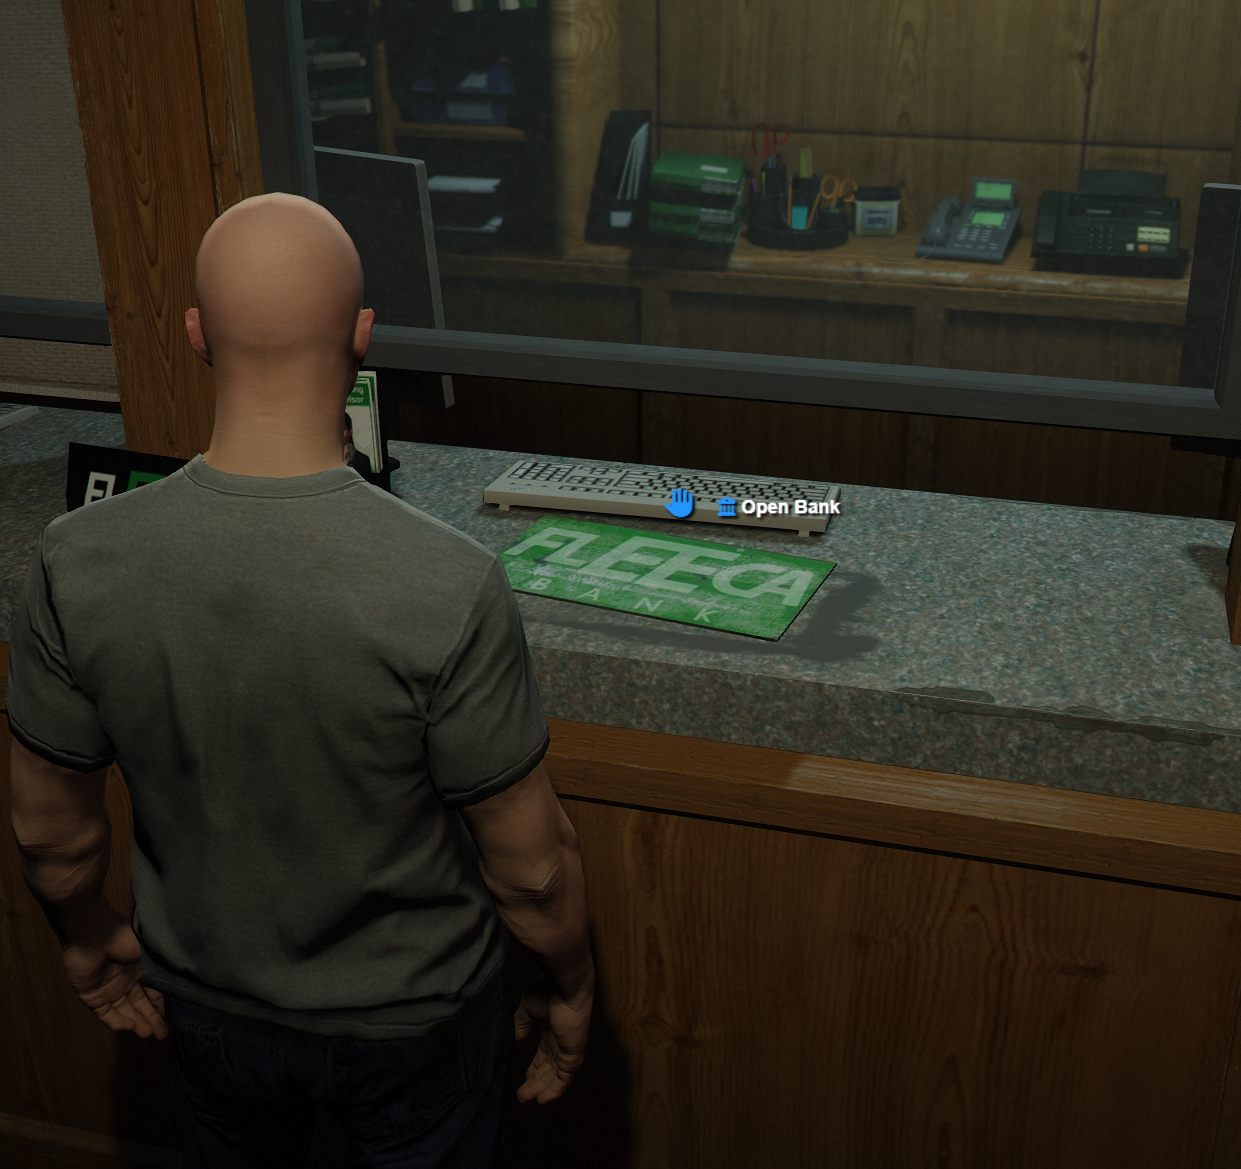
- Choose Open Bank
- Click Withdraw and take out some cash
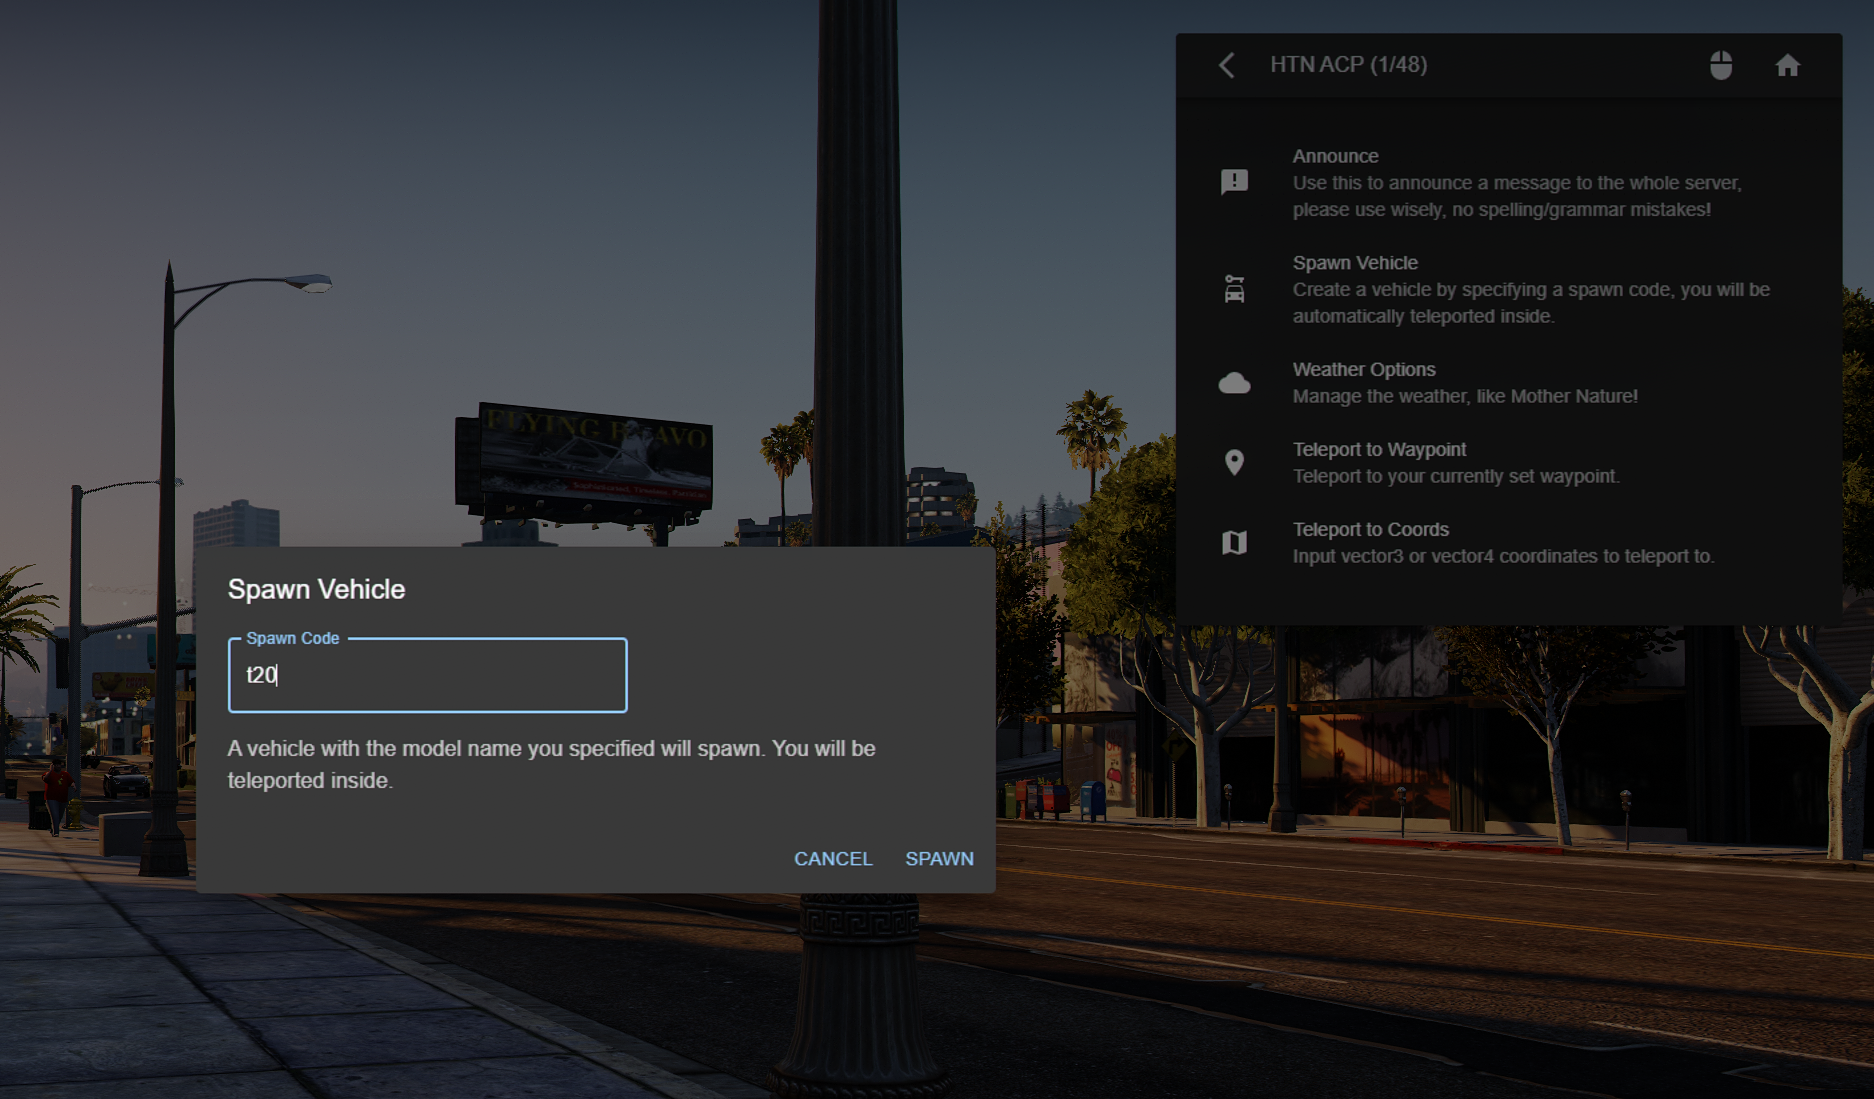
🚗 Step 8: Spawn a Vehicle
- Press F10 → Staff Commands
- Select Spawn Vehicle
Type any vehicle code, for example:
t20
Your car will spawn instantly — ready to drive.
🌦 Step 9: Change Time or Weather
You can control the world environment through admin tools.
- Change weather:
F10 → Staff Commands → Weather Options
Change time:
Open chat (T) and type:
/time [hour] [minute]
Example:
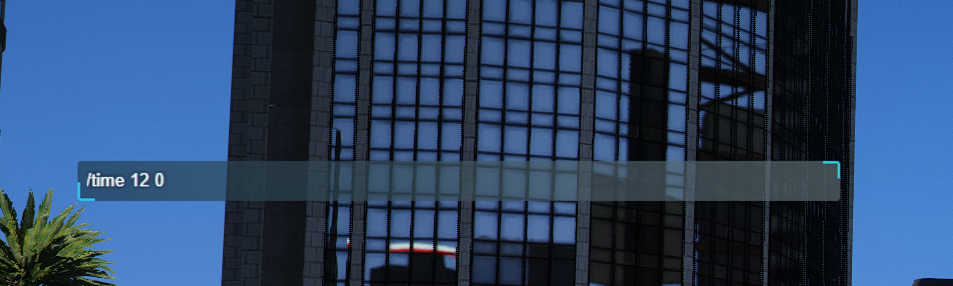
/time 12 0
🕹 Step 10: Use Noclip to Move Around
Need to move quickly around the map?
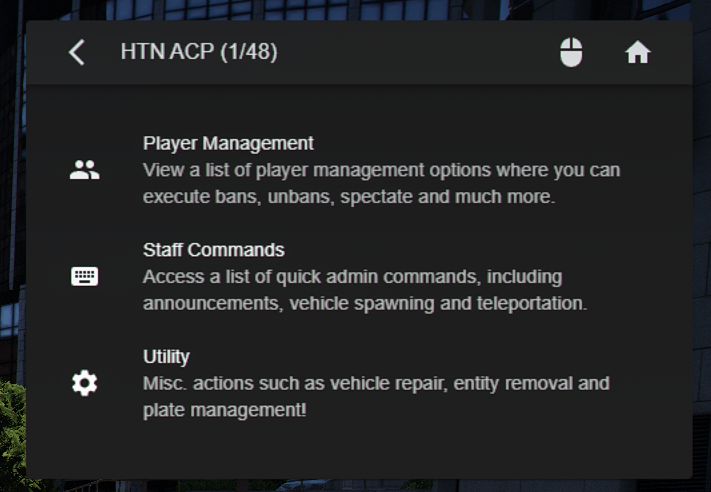
- Open admin menu (F10)
- Go to the Utility tab
- Scroll near the bottom and click Toggle Noclip
You can now fly around freely to explore or manage your world.
👮 Step 11: Trying Out the Police Job
One of the first things most players test is the Police Job.
To get started:
- Open your map and teleport to a Police Station using your admin menu (F10).
- Once there, open your chat (T) and type:
/setjob [ID] [Job] [Rank]
Example:
/setjob 1 police 6

- ID → Your Player ID (found in your phone’s Information App)
- Job → The job name (e.g.
police) - Rank → The rank number (1–6, with 6 being the highest)
After setting your job, you’ll now be part of the Police Job and gain access to new interactive features such as:
- 🚪 Locked doors to police buildings
- 🧍♂️ On-duty stations
- ⚙️ Job-based RP features using your third-eye system
💡 Tip: To try other jobs, open the following file to view available job codes:
HTNFramework\server-data\resources\[htn-core]\htn-framework\server\jobs\job_manager\sv_job_list.lua
⚙️ Keybinds & Commands Summary
| Function | Key / Command |
|---|---|
| Open Inventory | K |
| Open Phone | M |
| Interact | E |
| Open Chat | T |
| Admin Menu | F10 |
| Hold Interaction | Alt + Right Click |
| Toggle Noclip | F10 → Utility Tab |
| Set Time | /time [hour] [minute] |
| Give Money | /amoney [playerID] [bank] [amount] |
| Set Job | /setjob [playerID] [job] [rank] |
| Spawn Vehicle | F10 → Staff Commands → Spawn Vehicle |
| Teleport to Waypoint | F10 → Staff Commands |