Configuration: Office Buildings


This section explains how to create and manage office buildings for businesses in the HTNFW framework, including setting up your office, customizing it, and accessing its features.
Creating an Office Building
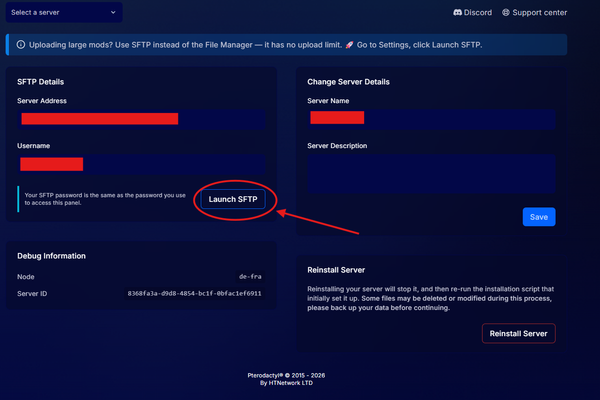
- Whitelist Your State ID:
- Navigate to the directory
\resources\[htn-addons]\htn-offices\sharedand add yourstateIdto the whitelist.
- Navigate to the directory
- Restart the Script:
- Restart the
htn-officesscript or perform a full server restart to apply the changes.
- Restart the
- Locate the Office Building:
- Navigate to the Office Building Blip marked on your map.
- Open the Context Menu:
- Interaction: Use your interaction key to open the context menu.
- Create an Office:
- Interaction: Select Create Office from the menu.
- Steps:
- Choose an office style.
- Enter an office name (e.g.,
htnetwork). - Select an office color and confirm the creation.
Managing and Accessing Your Office
- Access the Office Menu:
- Return to the Office Building Blip and use your interaction key to open the context menu.
- Select View Offices, then choose the office you created.
- Options:
- Enter Office: Access your office building.
- Manage Office:
- Change the password required for other players to enter the office.
- Office Features:
- Business Stash: Store and manage business-related items.
- Clothing Menu: Customize your character’s outfits.
- Logout Spot: Log out from the office.
- Logout / Wardrobe Location:
- Location: Navigate to the coordinates
(-78.179, -810.956, 243.386)to access the clothing menu or logout spot. - Interaction: Use your targeting system to interact with the wardrobe or logout area.
- Location: Navigate to the coordinates